本文最后更新于 105 天前,其中的信息可能已经有所发展或是发生改变。
普通网页内容
- 创建账户
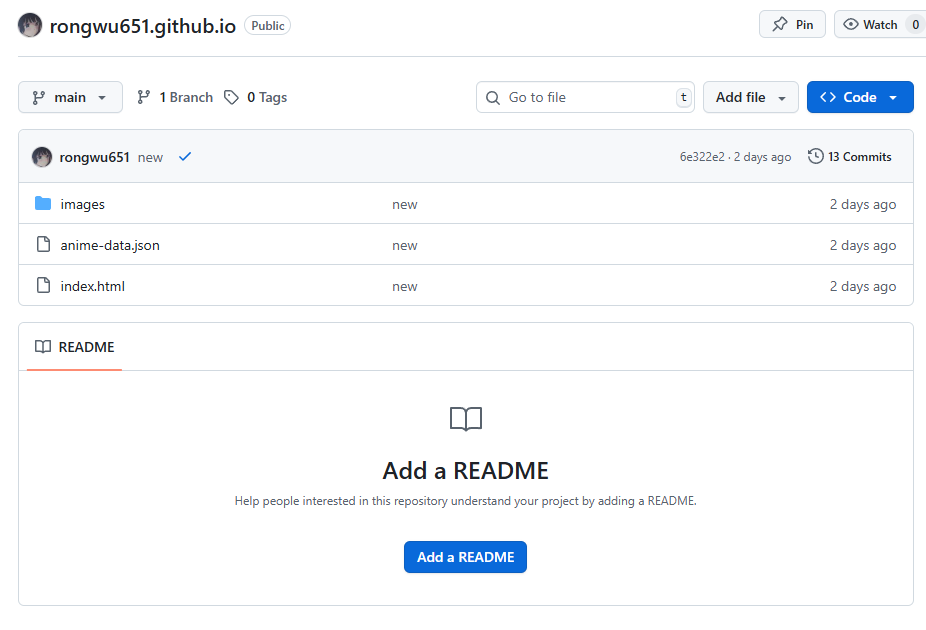
- 创建仓库:仓库命名格式为 username.github.io 例如rongwu651.github.io
- 创建index.html文件
- 启动Pages服务:仓库-Settings-Pages
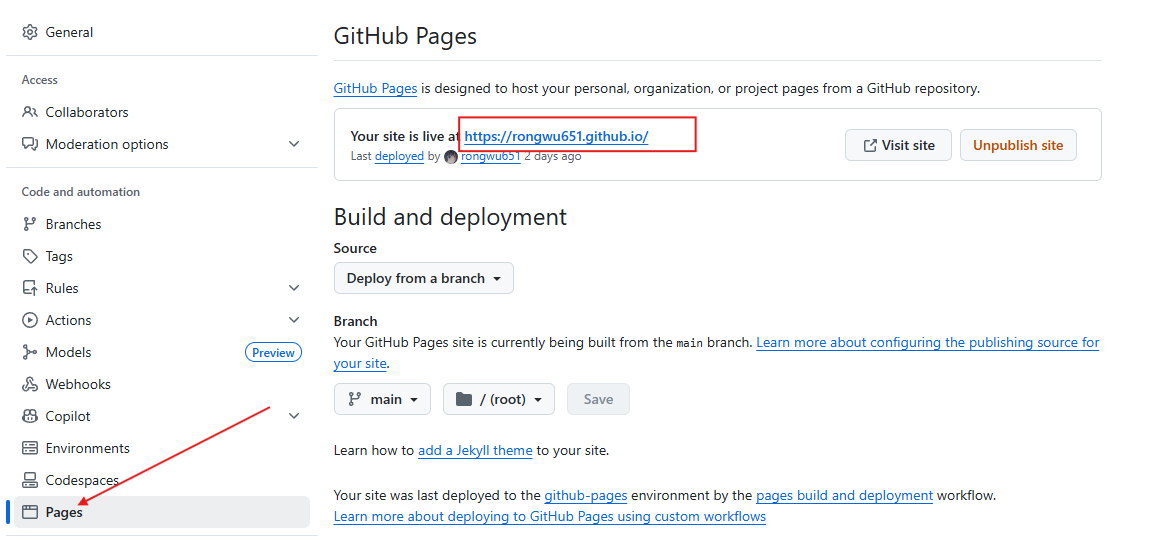
- 等待几分钟,访问网页 https://rongwu651.github.io

搭建Hexo博客网站
相关操作
hexo new "new blog" # 创建新博客文章(md格式)
hexo generate # 生成静态文件 (可写为 hexo g)
hexo s # 启动本地服务器查看 (http://localhost:4000/)

hexo clean # 清理缓存文件
hexo g
hexo deploy # 部署到 GitHub(可写为 hexo d)
安装Git并配置账户
- 安装Git
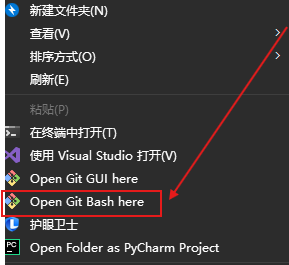
- 桌面右键鼠标-显示更多选项-Open Git Bash here
- 配置账户Github信息
# 配置用户名和邮箱
git config --global user.name "github 用户名"
git config --global user.email "github 注册邮箱"
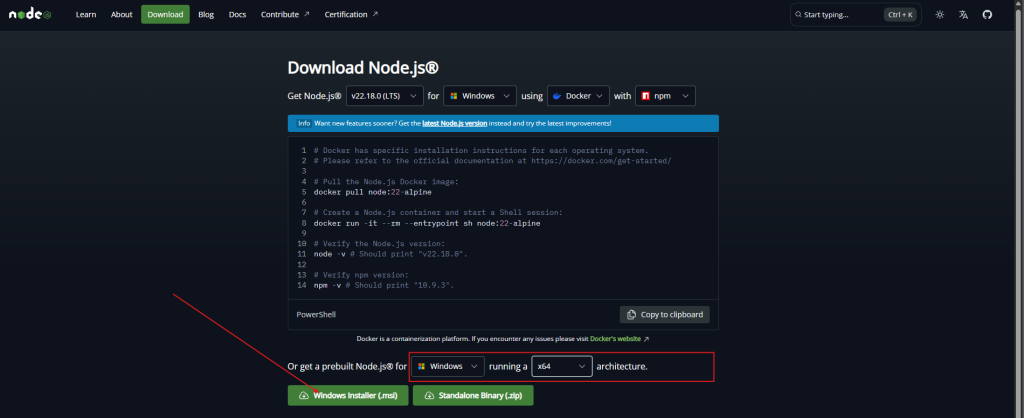
安装Node.Js
安装地址:https://nodejs.org/en/download
- Windows选择x64 .msi文件,下载后按照指引安装内容(直接下一步)
- 确认是否安装成功(重新打开一个新的Git Bash)
# 查询版本
node -v  # 例如:v22.18.0
npm -v   # 10.9.3
安装Hexo
- 安装客户端至文件所需存放的位置
cd D:
mkdir blog # 创建文件夹
cd blog
npm i hexo-cli -g # 安装hexo客户端
- 在上述路径下,初始化Hexo
hexo init .
npm install
ls # 查询文件树
 .
├── _config.yml # 网站配置信息
├── package.json # 应用程序信息
├── scaffolds # 模板文件夹
├── source # 存放用户资源
| ├── _drafts
| └── _posts
└── themes # 主题文件夹
- 配置hexo目录下的_config.yml的github账户
deploy:
  type: 'git'
  repo: https://github.com/username/username.github.io.git  #替换username
  branch: main
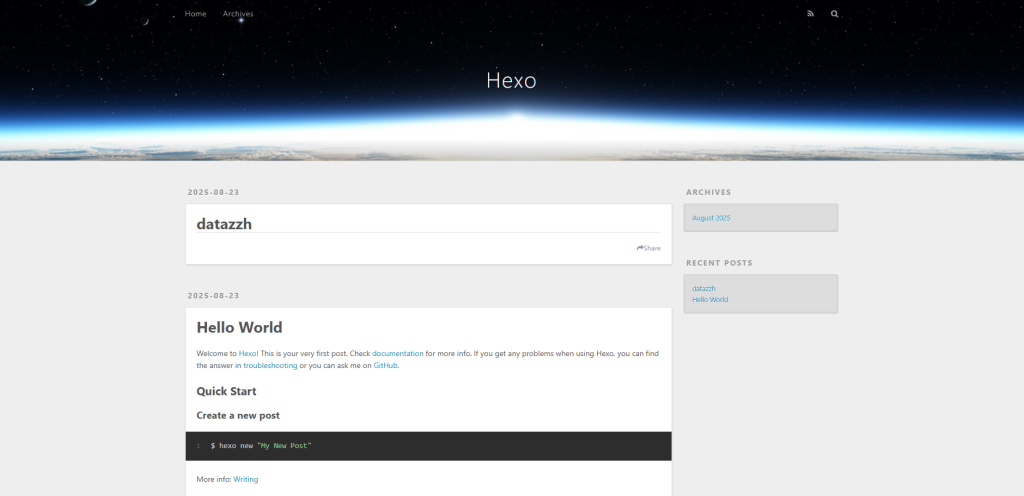
查看内容